
This Sourdough bread recipe walks you through the process, step-by-step, so you can have a loaf of delicious bread every time! I usually double this recipe and make 2 loaves at once.
Making your own sourdough bread doesn't have to be a daunting task. I know it seems intimidating, but I promise with this tutorial, you will be making sourdough effortlessly.
Things you need
- A large mixing bowl with a lid or plastic wrap
- Active sourdough starter - here is how I feed and maintain my starter
- Water - I use tap water but if your water has a strong chlorine smell, you should use filtered water.
- Bread flour - I use bread flour for its higher protein content which gives a better rise to your bread. You can also use all purpose flour.
- Salt - any salt will do.
- Kitchen scale - this recipe is written in grams for accuracy.
- Dough whisk - this is optional but it really helps the dough get started.
- Banneton basket - this is a basket for cold fermenting your sourdough loaf before baking. It helps hold its shape.
- Parchment paper or a silicone sling for baking sourdough bread.
- Something to score the dough such as a Lame.
- Dutch oven - baking your bread in a dutch oven gives it a nice crust that is traditional with sourdough. You can also bake the bread on a cookie sheet.
Step-by-step instructions
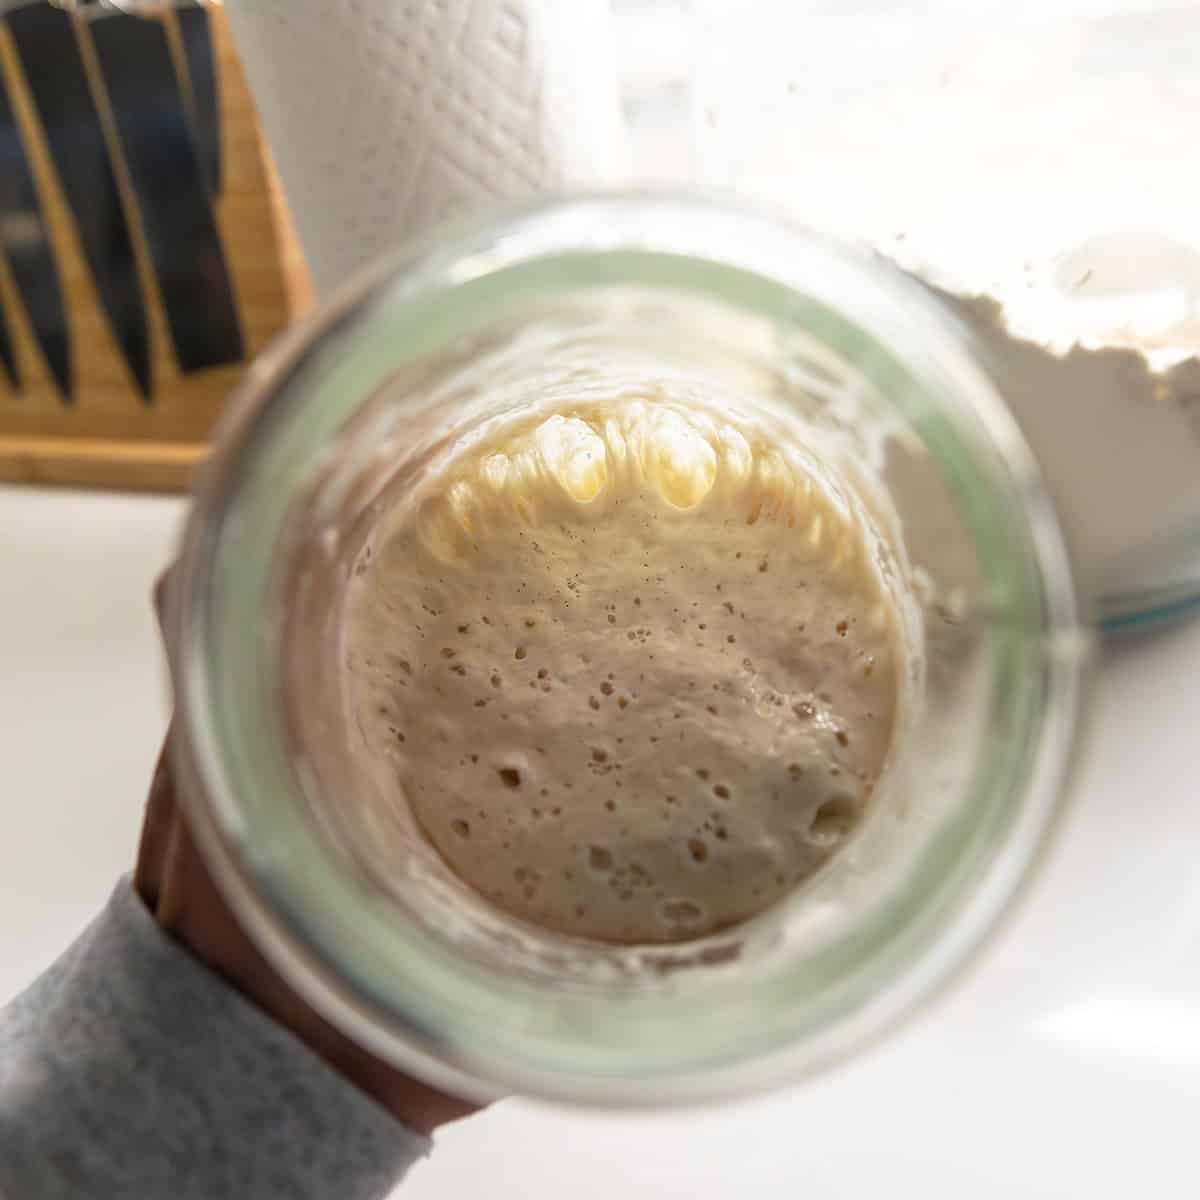
- Feed your starter - I start the process first thing in the morning by feeding my starter. We need 100 grams of active sourdough starter for this recipe. Add 50 grams of starter to a large glass jar along with 50 grams of flour and 50 grams of water. Depending on the temperature in your house, this will take 2 to 4 hours to become active. The top and sides will be filled with bubbles when it is ready and it will have doubled in size. I like to use the proofing feature on my oven to speed up the process. You can also put it in the microwave with a bowl of hot water to create a warm environment for your starter.
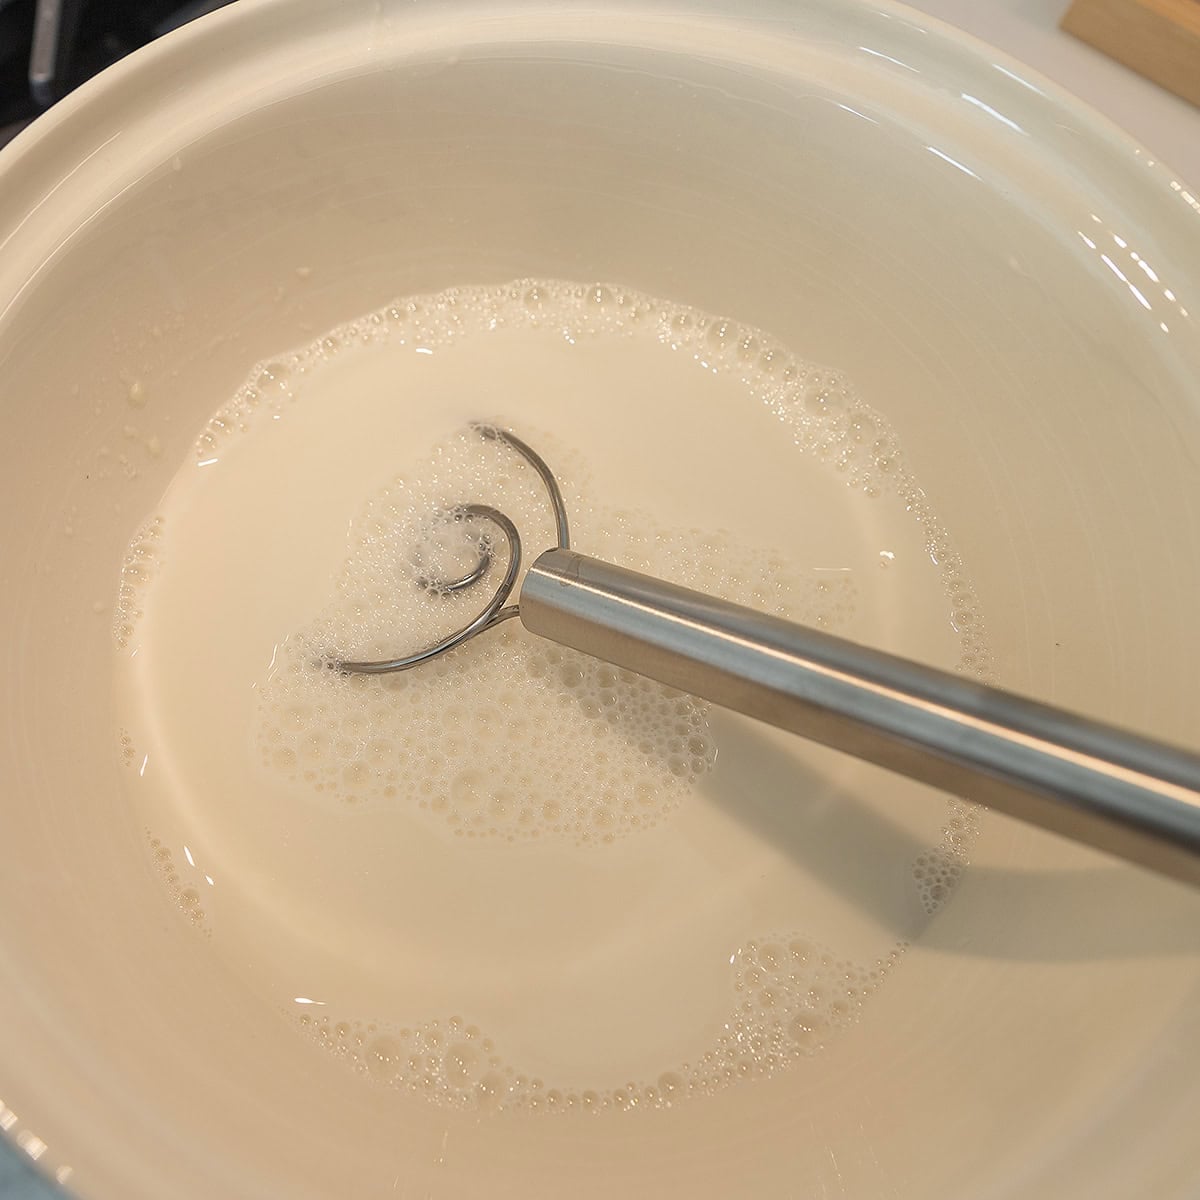
- Combine the starter and water - Mix together 100 grams of starter and 400 grams of water in a large mixing bowl until combined and frothy. I like to use a dough whisk for this.
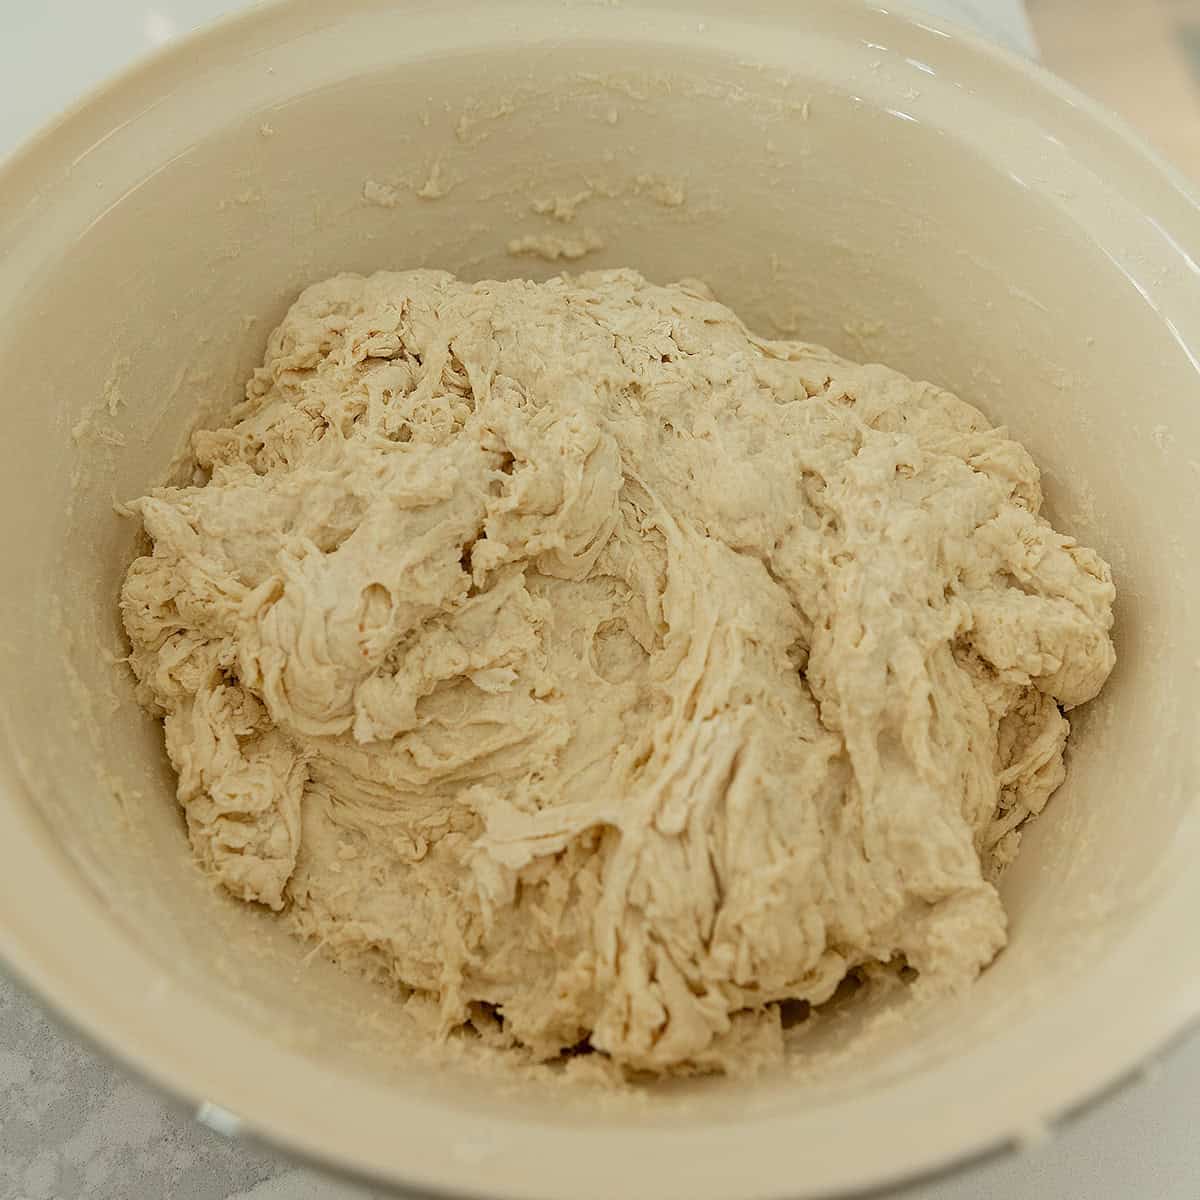
- Create a shaggy dough - add 600 grams of flour and 12 grams of salt to the water and starter mixture. Mix it until you form a "shaggy" dough. It will seem like you need to add more water but you do not. Cover the bowl with a loose fitting lid or plastic wrap and let it sit in a warm place for the bulk fermentation process.
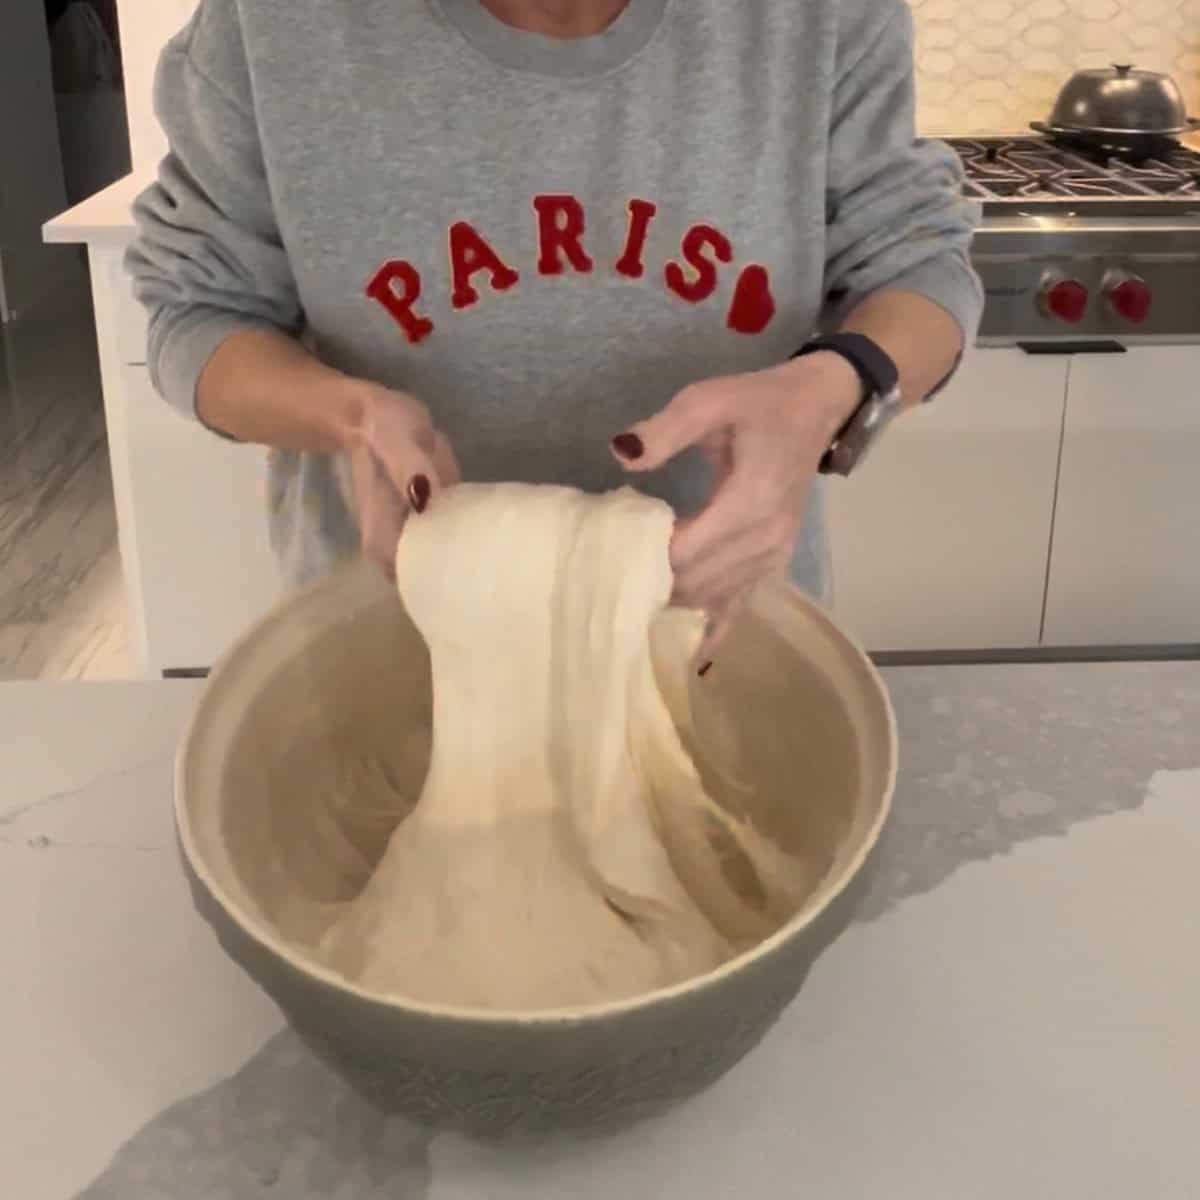
- Bulk fermentation - This is when the starter starts doing its job and makes our dough rise. This process can take 4 plus hours depending on the temperature of your home. During this process, we perform sets of stretches to the dough to develop the gluten.
- Every 30 minutes, wet your hands and place them at the sides of your dough. Dig your fingers in and scoop up the dough, pulling straight up about 6 inches or so then fold it in on itself. Turn your bowl a few inches and repeat the process. I like to do 6 turns of the bowl.
- These stretches are performed 4 times.
- After that, keep the dough covered and let it continue to ferment.
- You know your dough is finished fermenting when the dough has doubled in size, the top is not sticky to the touch, and the dough pulls away from the sides of the bowl easily.
- When our dough is finished bulk fermenting, it is time to shape it.
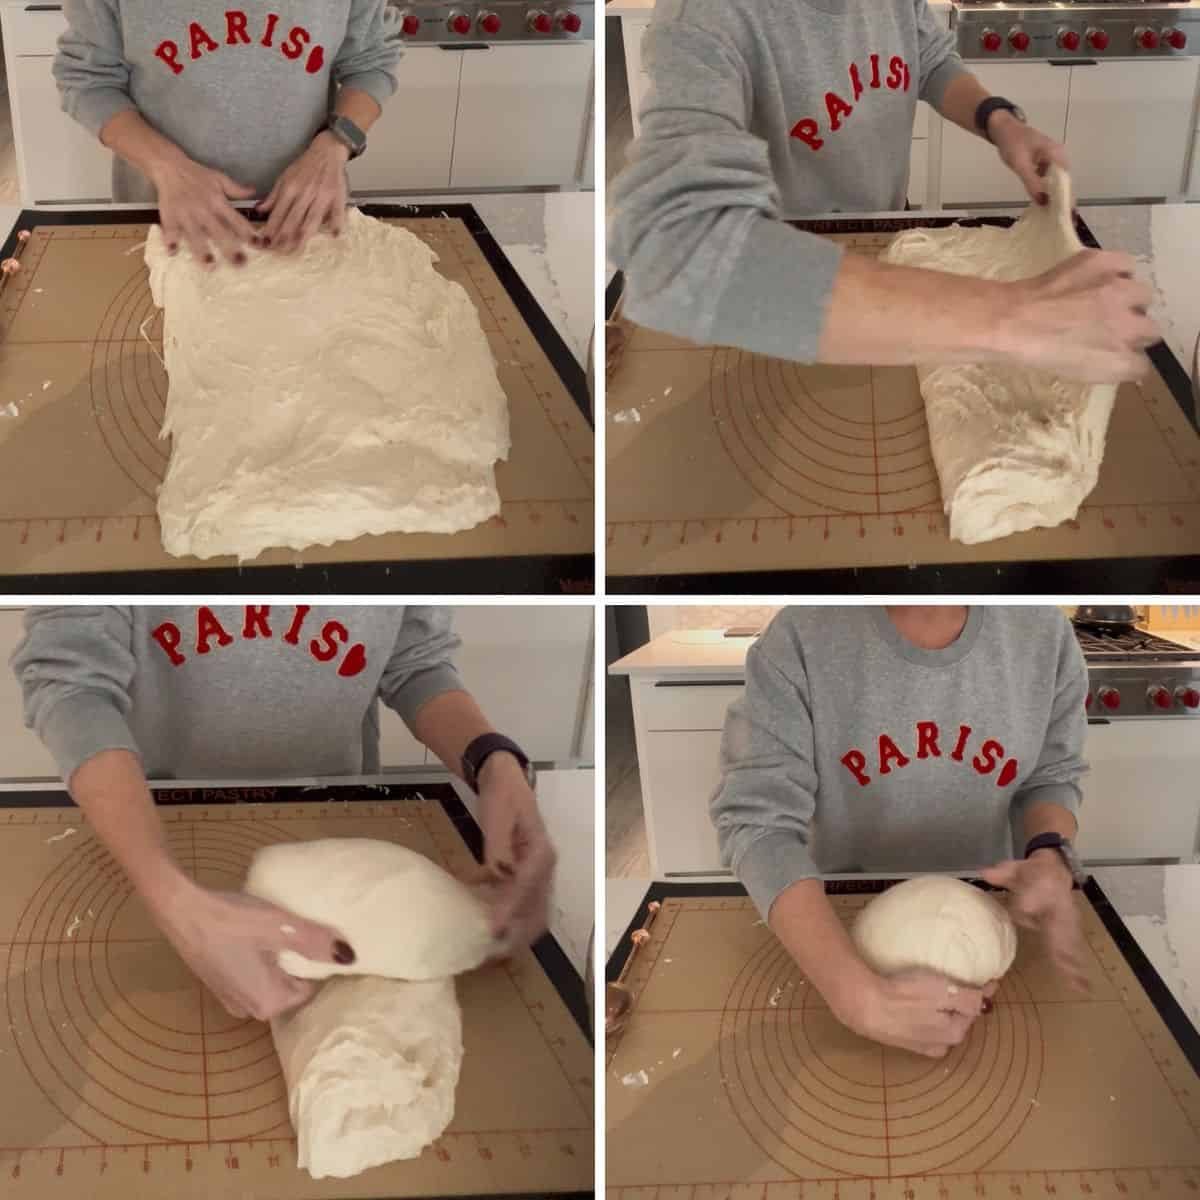
- On a floured work surface (or a large silicone mat), pour out the dough and spread it into a rectangle (doesn't have to be perfect.
- Fold the dough into thirds.
- Roll the dough from one end to the other, tucking the sides in as you go.
- Pull the dough ball toward you, using your hand to tuck the dough under as you pull. This helps build tension in your dough to help with oven spring. Repeat this process until the top is smooth.
- Flour the inside of your banneton basket and carefully place the dough ball in the basket, smooth side down.
- Flour the top of your dough and cover with a piece of plastic wrap.
- Cold ferment - refrigeration of the dough helps develop the sour flavor we love from sourdough. Place the dough in the refrigerator overnight.
- Baking - the next morning it's time to bake the bread!
- Preheat your dutch oven in the oven at 450F.
- Tip: I prefer a less crusty bread so I bake my sourdough with a baking sheet on the rack below my dutch oven to keep it from getting too crusty on the bottom.
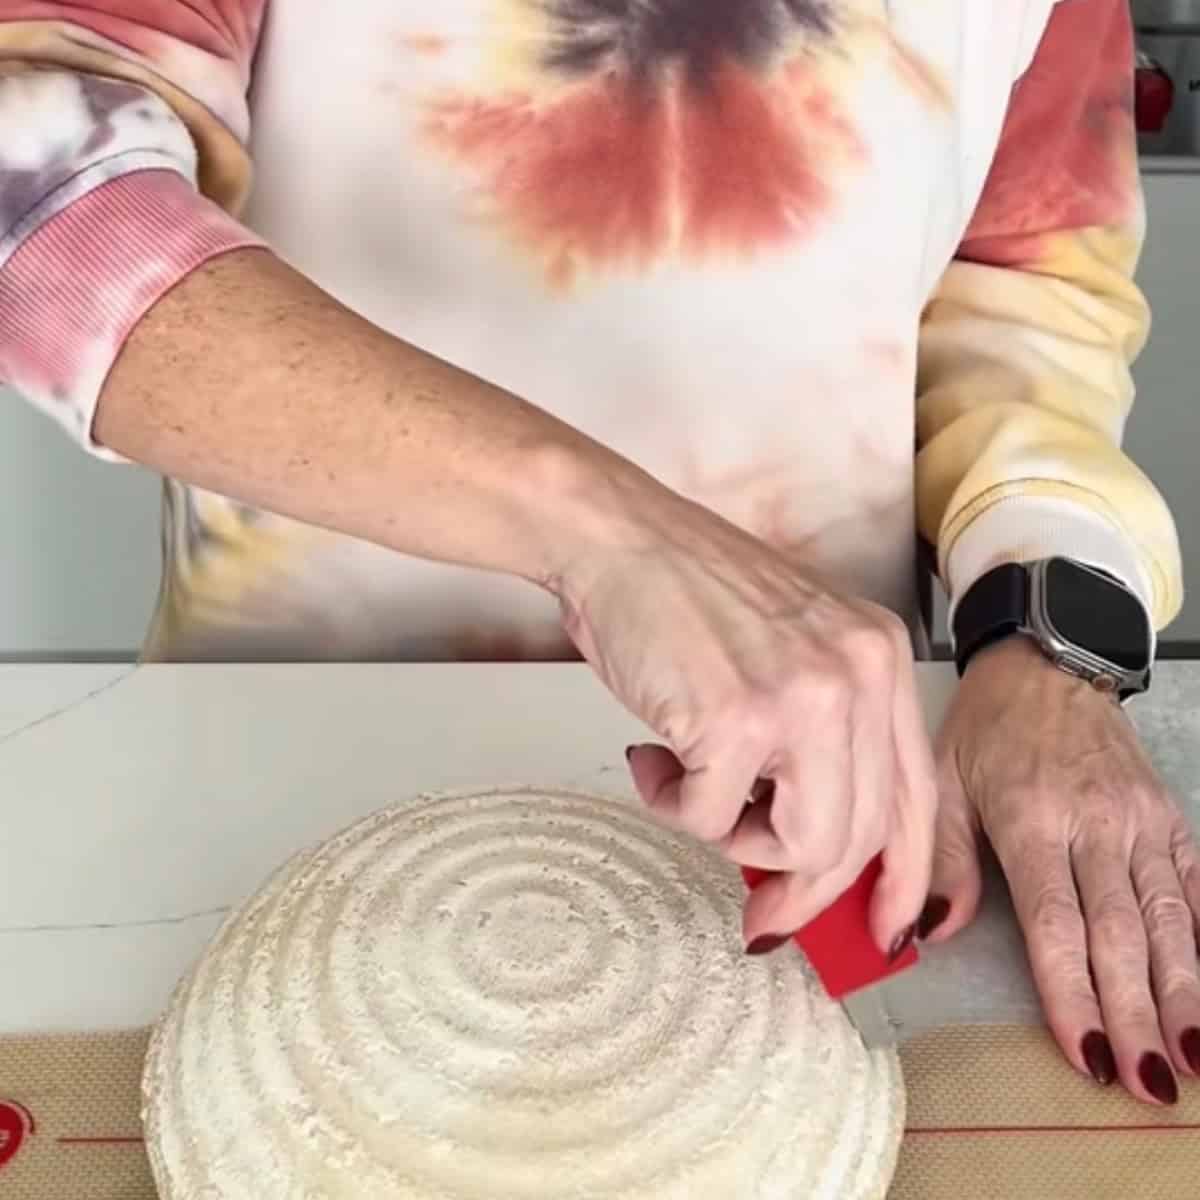
- Remove the dough from the refrigerator and turn it out onto a piece of parchment paper or a silicone sling.
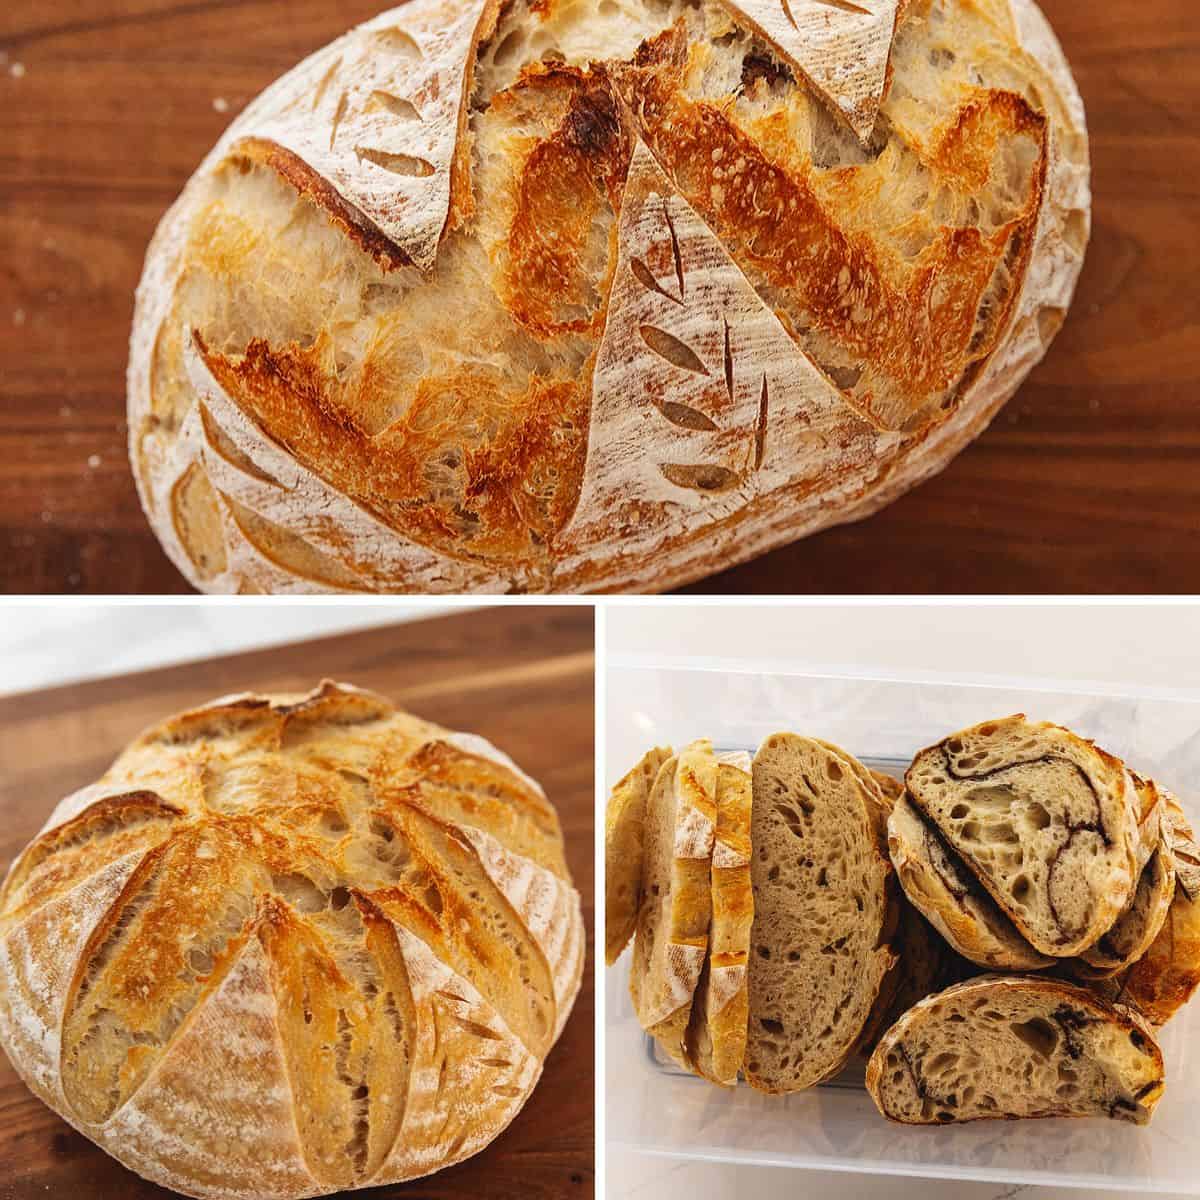
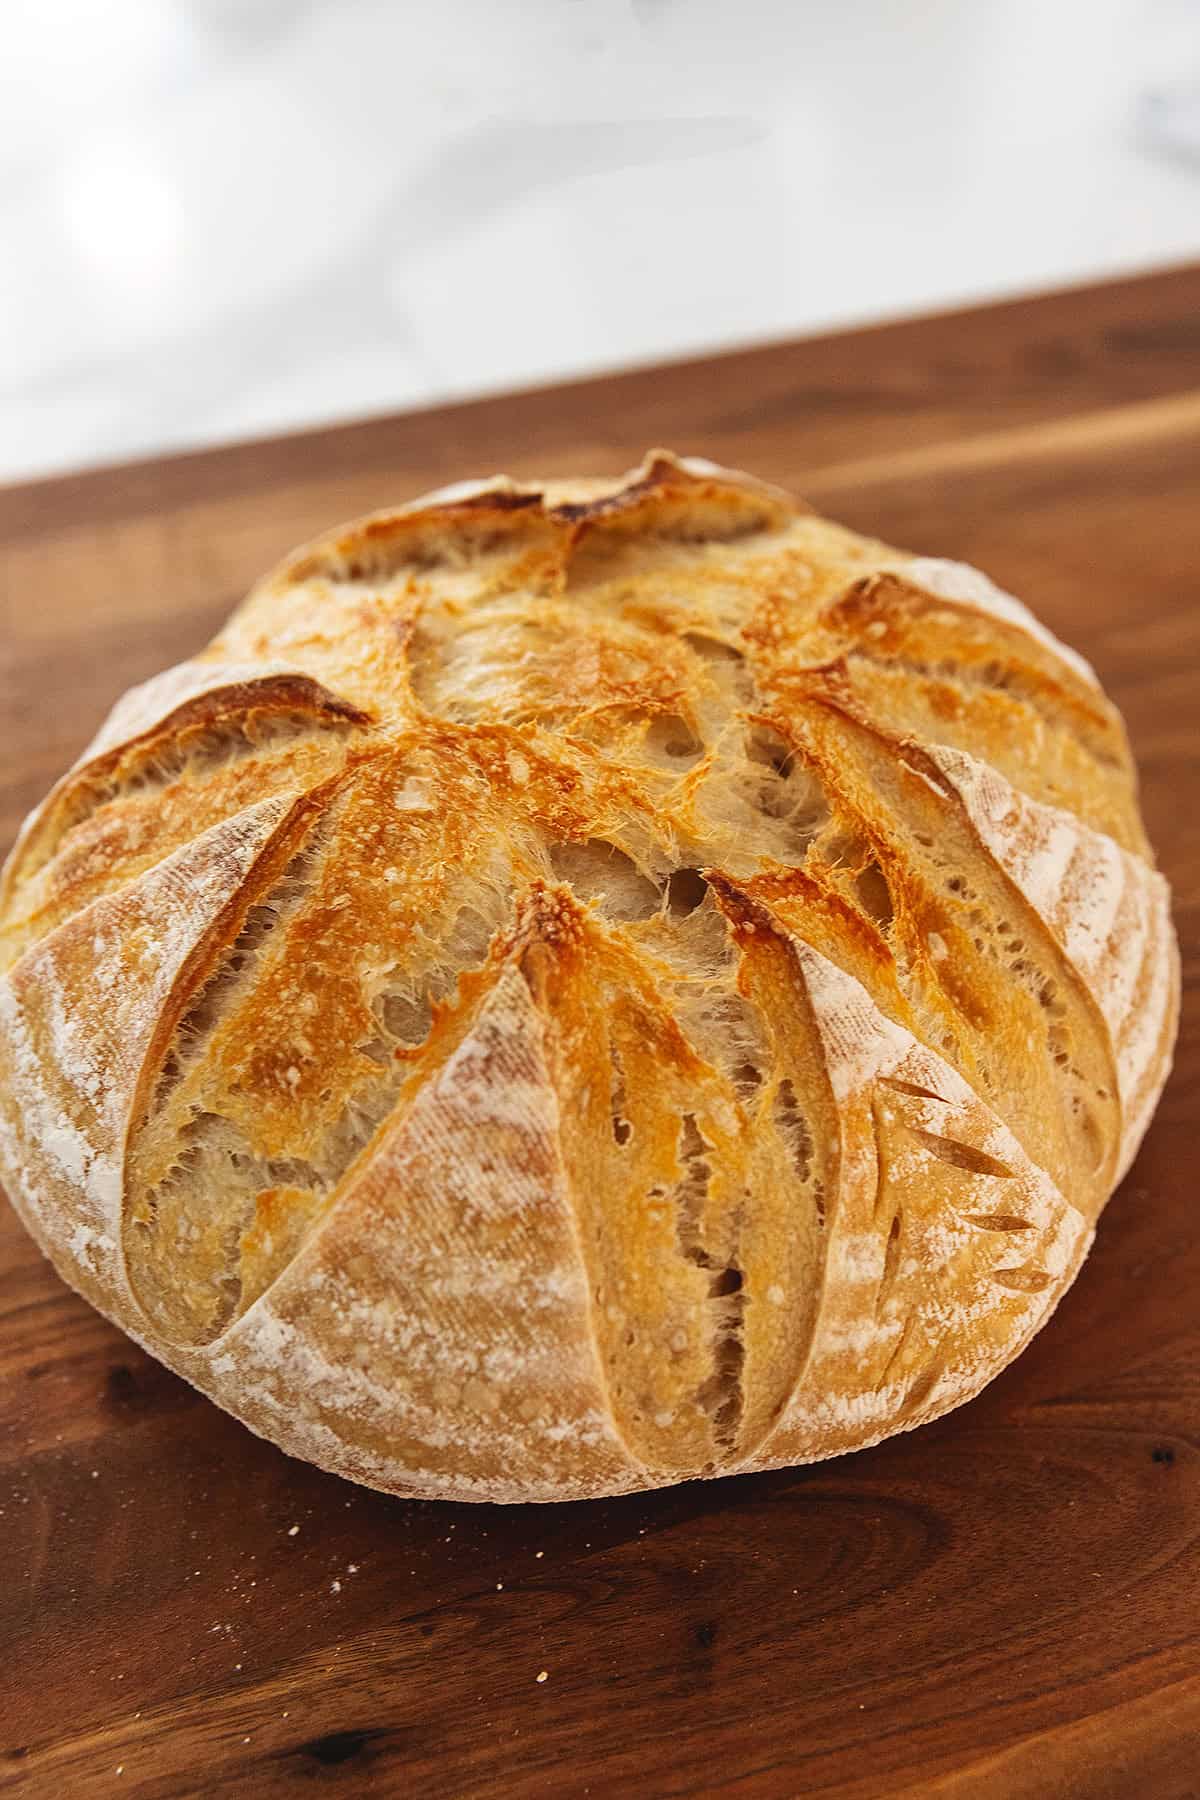
- Use a Lame to score the dough. A big loaf like this needs to be scored quite a bit to allow for oven spring. I like to create a large "plus" right through the middle and about ½ inch deep.
- Preheat your dutch oven in the oven at 450F.
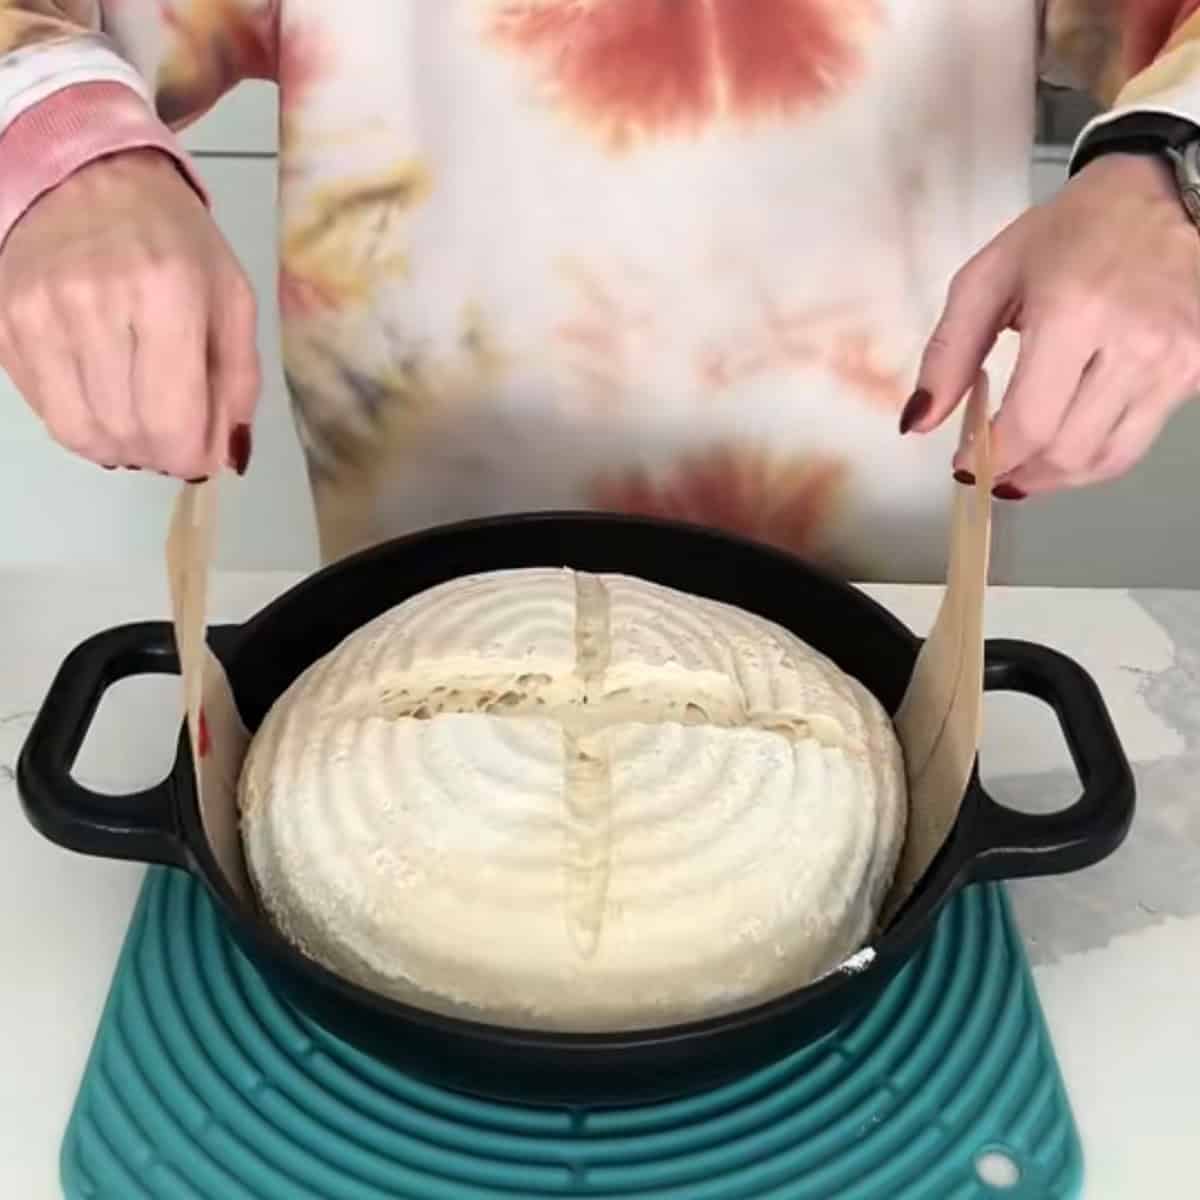
- Carefully place the loaf into the dutch oven and cover with the lid. Bake in the oven for 35 minutes with the lid on, then remove the lid and bake for an additional 5-10 minutes, or until the outer crust is how you like. I also use an internal temperature thermometer to check that the inside of the bread is at least 200F.
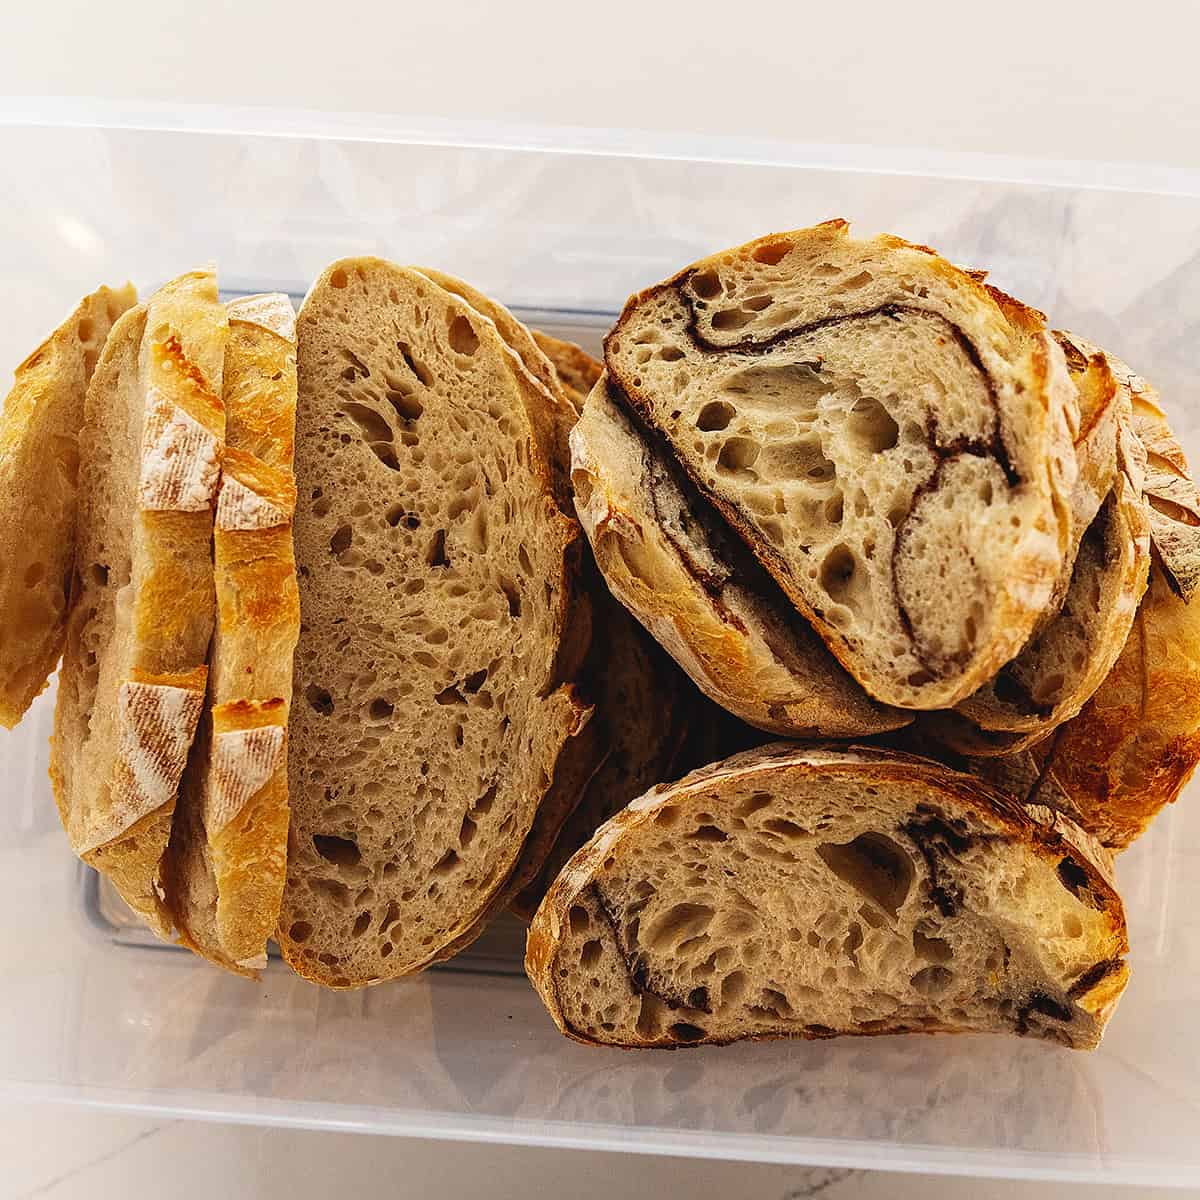
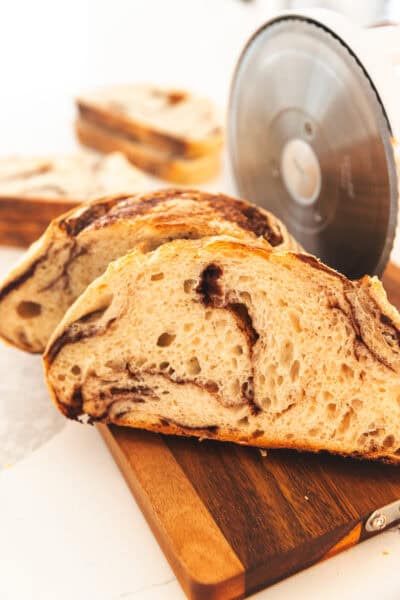
- carefully remove the bread from the dutch oven and let cool completely before slicing.
Is sourdough bread low carb?
No, sourdough bread is not low carb but some people love to eat it for the gut healthy benefits. Sourdough bread does have a lower glycemic index than traditional bread as well.
Recipe Card
Sourdough Bread Recipe for Beginners
Method
- Feed your starter - I start the process first thing in the morning by feeding my starter. We need 100 grams of active sourdough starter for this recipe. Add 50 grams of starter to a large glass jar along with 50 grams of flour and 50 grams of water. Depending on the temperature in your house, this will take 2 to 4 hours to become active. The top and sides will be filled with bubbles when it is ready and it will have doubled in size. I like to use the proofing feature on my oven to speed up the process. You can also put it in the microwave with a bowl of hot water to create a warm environment for your starter.
- Combine the starter and water - Mix together 100 grams of starter and 400 grams of water in a large mixing bowl until combined and frothy. I like to use a dough whisk for this.
- Create a shaggy dough - add 600 grams of flour and 12 grams of salt to the water and starter mixture. Mix it until you form a "shaggy" dough. It will seem like you need to add more water but you do not. Cover the bowl with a loose fitting lid or plastic wrap and let it sit in a warm place for the bulk fermentation process.
- Bulk fermentation - This is when the starter starts doing its job and makes our dough rise. This process can take 4 plus hours depending on the temperature of your home. During this process, we perform sets of stretches to the dough to develop the gluten.Every 30 minutes, wet your hands and place them at the sides of your dough. Dig your fingers in and scoop up the dough, pulling straight up about 6 inches or so then fold it in on itself. Turn your bowl a few inches and repeat the process. I like to do 6 turns of the bowl. These stretches are performed 4 times. After that, keep the dough covered and let it continue to ferment. You know your dough is finished fermenting when the dough has doubled in size, the top is not sticky to the touch, and the dough pulls away from the sides of the bowl easily.
- When our dough is finished bulk fermenting, it is time to shape it.On a floured work surface (or a large silicone mat), pour out the dough and spread it into a rectangle (doesn't have to be perfect.Fold the dough into thirds.Roll the dough from one end to the other, tucking the sides in as you go.Pull the dough ball toward you, using your hand to tuck the dough under as you pull. This helps build tension in your dough to help with oven spring. Repeat this process until the top is smooth. Flour the inside of your banneton basket and carefully place the dough ball in the basket, smooth side down.
- Flour the top of your dough and cover with a piece of plastic wrap.
- Cold ferment - refrigeration of the dough helps develop the sour flavor we love from sourdough. Place the dough in the refrigerator overnight.
- Baking - the next morning it's time to bake the bread!Preheat your dutch oven in the oven at 450F.Tip: I prefer a less crusty bread so I bake my sourdough with a baking sheet on the rack below my dutch oven to keep it from getting too crusty on the bottom.Remove the dough from the refrigerator and turn it out onto a piece of parchment paper or a silicone sling.Use a Lame to score the dough. A big loaf like this needs to be scored quite a bit to allow for oven spring. I like to create a large "plus" right through the middle and about ½ inch deep.
- Carefully place the loaf into the dutch oven and cover with the lid. Bake in the oven for 35 minutes with the lid on, then remove the lid and bake for an additional 5-10 minutes, or until the outer crust is how you like. I also use an internal temperature thermometer to check that the inside of the bread is at least 200F.Carefully remove the bread from the dutch oven and let cool completely before slicing.

Lauretta says
Where do I find sour dough starter
Jennifer Banz says
Here is how I acquire my starter: https://jenniferbanz.com/how-to-feed-sourdough-starter-for-beginners
Angela says
I need the starter I went every were in MarystownNl. and In Ontario Hawksbury . Couldn't find any. Can you help meor Tell me were I can find some. Thank You.
Jennifer Banz says
Here is one I found on Amazon https://www.amazon.ca/Canadian-Sourdough-Starter-Culture-reactivation/dp/B0FS91SJPR/ref=sr_1_5?crid=1QY780ZRNLN6C&dib=eyJ2IjoiMSJ9.s04oYzOUROovAHEqNIq7lAXEk-WjQmfBdLRU9XQ65Srv7b4NNC89_us0kQTefpFp-0NzQRrd56-EYQtxwObXWxm0SL5CFENx-FYzK3kGZN3_cCJkKnoQPtaSGTxTEK1IqLkkoK4_U_c-qYJ3yNOhjUmZf1BQeQBEIf68pWnKlCesD7-c5V6xom4kmgTEObyRqxHaoFrecuIR_xSLFqmBxi_GsT-aUFC557SHllazHV3nDUPmPr1AJp96a59DQ1IOxXBcqZPuq0zOAWGjEsw3ZsEmkEQTzhop41pvfyaTfSk.mOPj6-OZVvLJvJQSIx-XYPPPMAkk0yXGlynYQFObu0s&dib_tag=se&keywords=sourdough%2Bstarter&qid=1769786037&sprefix=sourdough%2Bstarte%2Caps%2C145&sr=8-5&th=1
Robert says
The carbohydrates seem kind of high? I have purchased a brand of sour dough and it seems to not affect my blood sugar and may be low carbohydrates?
Jennifer Banz says
This recipe is not low carb. This is noted at the end of the post.
KIM KEHLER says
How do you get the Sourdough Starter ?
Jennifer Banz says
I ordered a dried starter from Amazon and then I take care of it. Here is my post on starters: https://jenniferbanz.com/how-to-feed-sourdough-starter-for-beginners
James says
I made one with honey,egg ,pomegrant seed, the best ever ,Jim
Jennifer Banz says
That sounds so good!
Debbie Naylor says
Does this make two loaves?
Jennifer Banz says
This is for one loaf but you could definitely divide the dough into smaller loaves. The bake time would be less.