
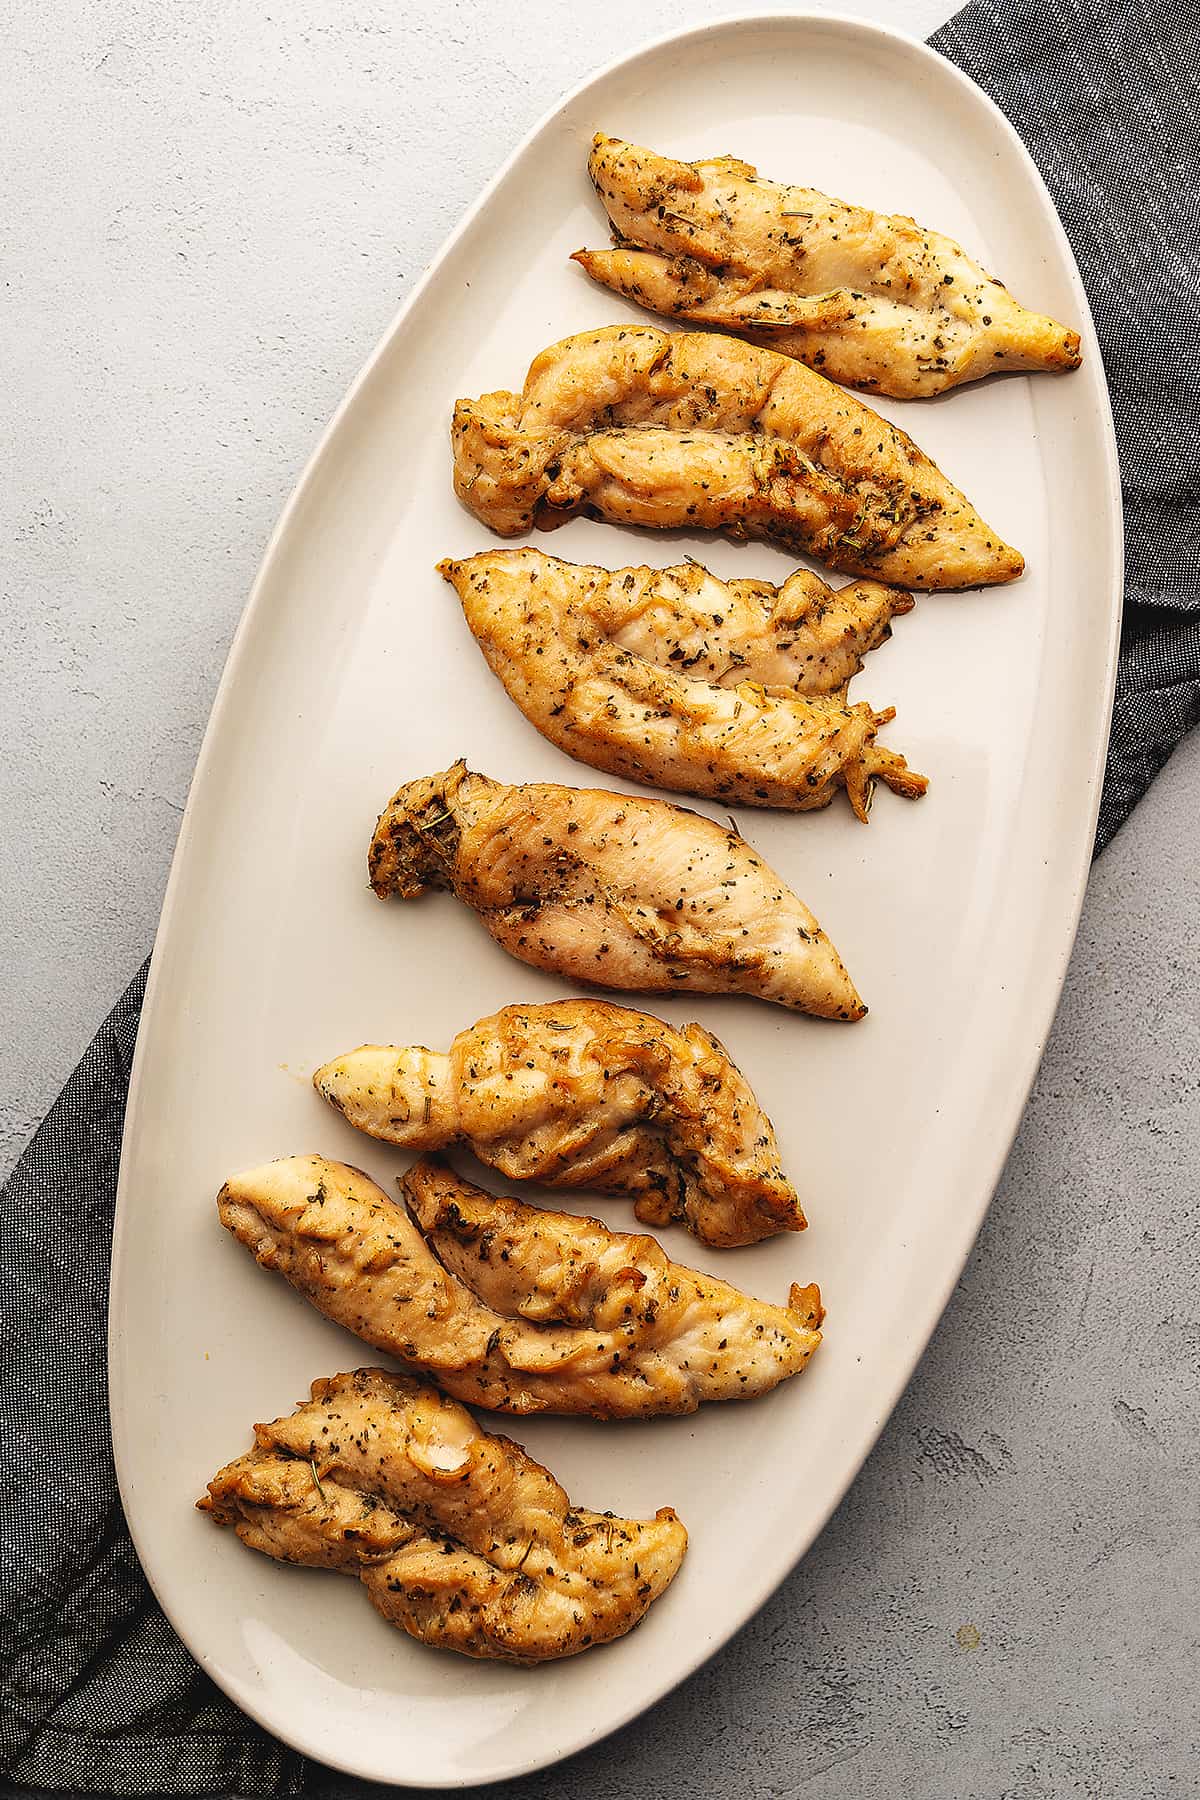
If you've ever baked chicken tenders and ended up with dry, rubbery chicken, you're not alone. This is the method I use when I want simple, juicy chicken tenders in the oven that actually turn out right every time. No breading, no complicated steps, just seasoned chicken tenderloins baked until perfectly cooked.
Why this is the only baked chicken tenders recipe you need

This is one of those recipes I make when I don't want to overthink dinner but still want something that turns out right. It's just chicken tenderloins with a simple seasoning, baked at the right temperature so they stay juicy instead of drying out. No breading, no extra steps, just something you can make quickly and actually count on.
I end up using these for everything during the week. Sometimes I throw them on a salad, sometimes in a wrap, and sometimes I just eat them as-is. Once you have a simple method like this that works, you stop feeling like you need a new recipe every time you make chicken.
How long to bake chicken tenders (and the best temperature)
The best way to bake chicken tenders is at 400°F. This temperature cooks them quickly while keeping them juicy instead of drying out.
Most chicken tenders (or chicken tenderloins) will take about 15 to 20 minutes in the oven, depending on their size and thickness.
The most important thing is not to overcook them. Chicken tenders are small and cook fast, so even a few extra minutes can make them dry. I always check them with a thermometer and pull them out as soon as they hit 165°F in the thickest part.
If your tenders are on the smaller side, start checking closer to 15 minutes. Larger or thicker pieces may take closer to 20 minutes.
Once you make them this way a couple of times, you'll get a feel for it and won't have to think about it as much.
What you'll need
You only need a few simple ingredients to make these baked chicken tenders:
• Chicken tenderloins (about 1 pound, or 8 to 10 tenders)
• Avocado oil (or any cooking oil you like)
• Soy sauce or tamari (for gluten free)
• Garlic powder
• Italian seasoning
• Black pepper
Chicken tenderloins are the small, naturally tender strips of meat attached to the underside of the chicken breast. They're sometimes labeled as chicken tenders at the store, and either one will work for this recipe.
The combination of oil and soy sauce acts like a quick marinade, which helps keep the chicken juicy and adds a lot of flavor without any extra work. This is one of the reasons I keep coming back to this method during the week.
How to remove the tendon from chicken tenders
You'll sometimes notice a white tendon running through chicken tenderloins. It can be a little tough after cooking, so I like to remove it when I have the time, but it's completely optional.
This is one of those small steps that can make baked chicken tenders turn out even better, especially if you're serving picky eaters.
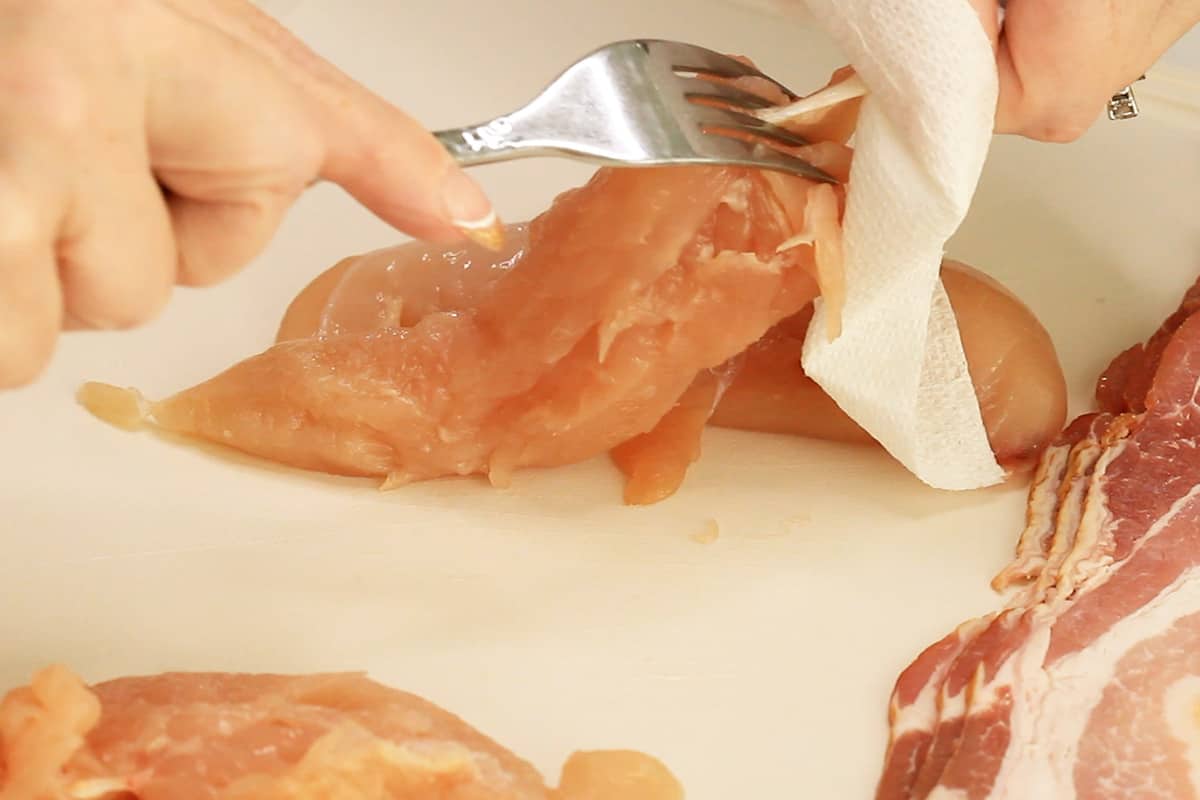
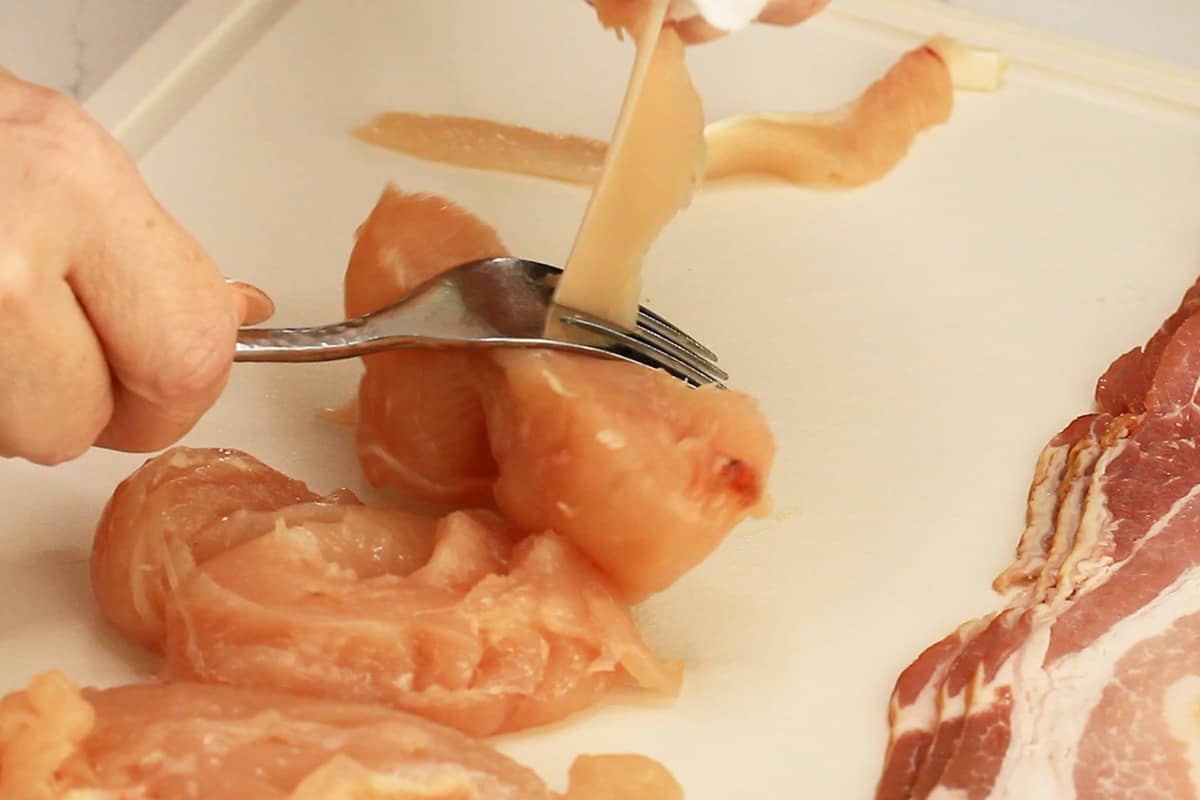
- The easiest way to do it is to hold the end of the tendon with a paper towel (so it doesn't slip), then use a fork to gently pull the chicken away from it. The tendon will slide right out.
- If that sounds like too much work, you can absolutely skip it. I do plenty of times when I'm just trying to get dinner on the table.
How to bake chicken tenders in the oven
This is a quick, straightforward way to bake chicken tenders in the oven. Just a few steps and they turn out juicy every time.


Step 1: Preheat the oven to 400°F.
Set aside a rimmed baking sheet. You don't need to line it because the chicken has oil and won't stick.
Step 2: Season the chicken.
In a medium bowl, toss the chicken tenderloins with the avocado oil, soy sauce (or tamari), garlic powder, Italian seasoning, and black pepper. Let them sit for a few minutes while the oven finishes preheating so they can absorb the flavor.
Step 3: Arrange on the pan.
Place the chicken tenders in a single layer on the baking sheet. Make sure they aren't overlapping so they cook evenly.
Step 4: Bake.
Bake for 15 to 20 minutes, depending on the size of your tenders.
Step 5: Check for doneness.
The chicken is done when it reaches 165°F in the thickest part. I always use a meat thermometer so I don't overcook them.
If you removed the tendon and the tenders split, they may cook faster, so start checking a little earlier.
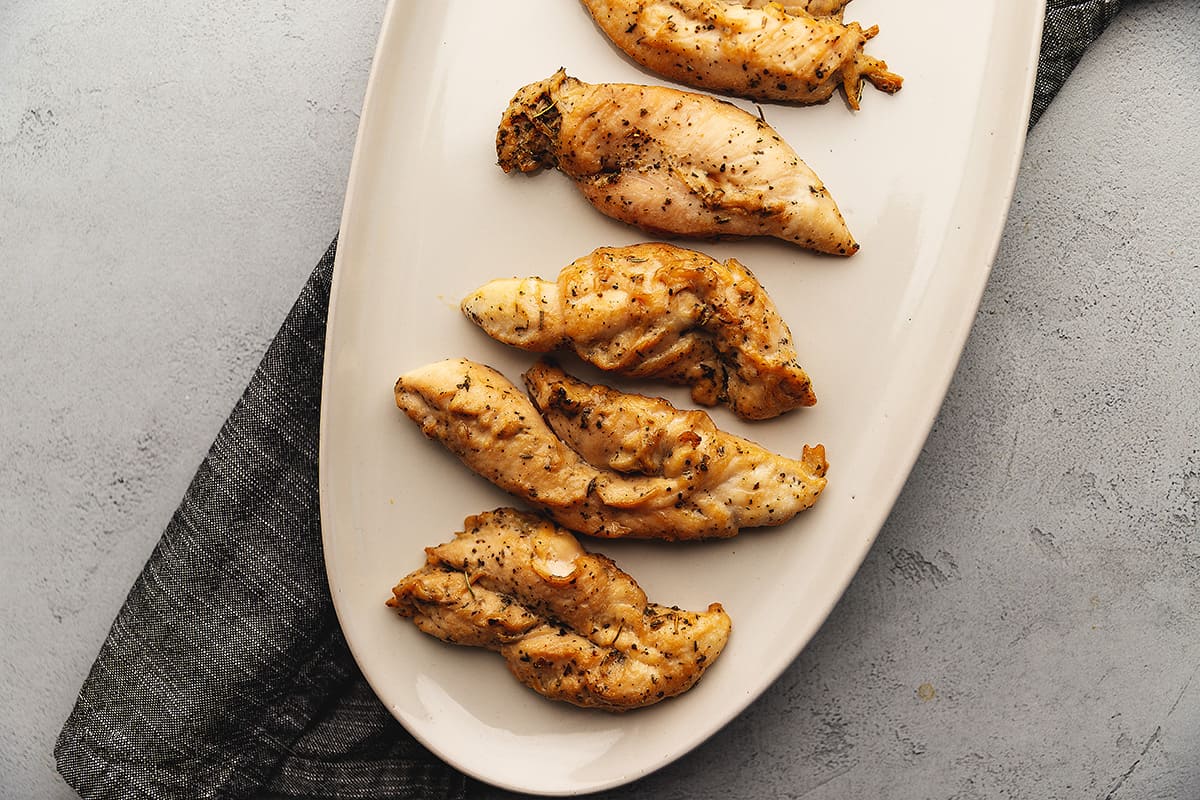
Step 6: Serve.
Serve with your favorite dipping sauce and an easy side.
How to keep chicken tenders from drying out
Chicken tenders are lean and cook quickly, which means they can dry out fast if you're not careful. These are the things that make the biggest difference:
Don't overcook them
This is the most important one. Chicken tenders are small, so even a few extra minutes in the oven can make them dry. I always use a meat thermometer and pull them out as soon as they hit 165°F.
Bake at a higher temperature
Cooking at 400°F helps them cook quickly and stay juicy. Lower temperatures take longer and can dry them out.
Use a little oil and seasoning
The combination of oil and soy sauce in this recipe helps lock in moisture and adds flavor at the same time.
Watch the size of your tenders
Smaller or thinner pieces will cook faster than larger ones. If you have a mix, start checking the smaller ones early so they don't overcook.
Once you've made them a couple of times, you'll get a feel for when they're done, and it becomes one of those meals you don't have to think about anymore.
Frequently Asked Questions
The most reliable way is to use a meat thermometer. Chicken tenders are done when they reach 165°F in the thickest part. Because they cook quickly, it's easy to overcook them without checking.
Yes, just slice the chicken breast into strips similar in size to chicken tenders so they cook evenly.
No, it's completely optional. It can be a little tough after cooking, but if you're short on time, you can skip it without affecting how the recipe turns out.
How I make this a meal
This is one of those recipes I use as a base during the week and build meals around depending on what I have on hand.
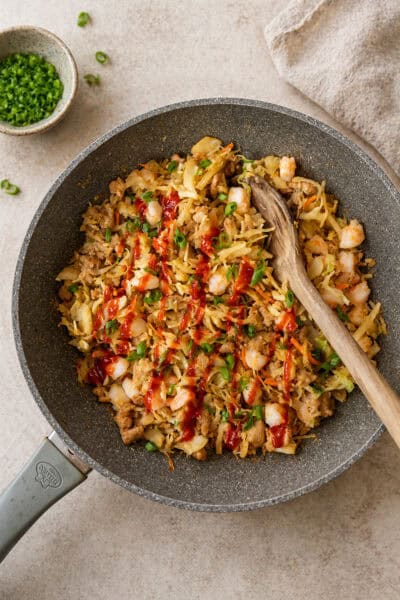
Most of the time, I keep it simple and serve these with a side of fried cabbage with bacon. It cooks quickly and pairs really well with the seasoning on the chicken.
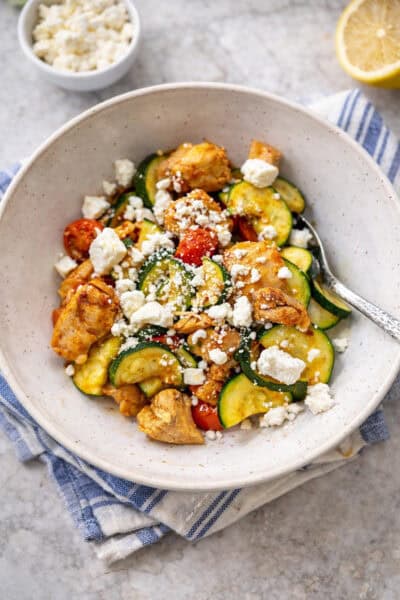
If I want something lighter, I'll throw the chicken tenders on top of a simple side salad or use them in my chicken caesar wrap. They also work really well for bowls, like my chicken burrito bowl if you want to add rice or cauliflower rice and some extra toppings.
Once you have a method like this down, it makes putting meals together a lot easier without needing a new recipe every time.
More meals I make on repeat
If you're trying to keep meals simple and stop overthinking what to make, these are a few other meals I make on repeat during the week using the same kind of simple, reliable methods:
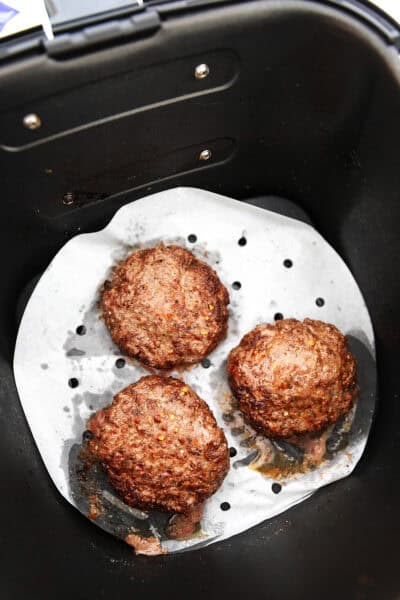
• Air fryer chicken tenders - same idea, just a faster method if you don't want to use the oven
• Air fryer chicken thighs - one of my go-to recipes for juicy chicken with minimal effort
• Oven baked chicken thighs - another easy oven method that works every time
• Chicken Caesar wraps - an easy way to use cooked chicken for a quick lunch or dinner
• Chicken burrito bowl - simple, high-protein meal you can throw together with what you have
Once you have a few meals like this you can rotate through, it gets a lot easier to stick with simple, high-protein meals without feeling like you need something new every time.
Recipe Card
Oven Baked Chicken Tenders (Juicy, Easy, Never Dry)
Ingredients
- 1 pound chicken breast tenders about 8-10
- 2 tablespoons avocado oil or your favorite cooking oil
- 2 tablespoons Soy Sauce or tamari (for gluten free)
- 1 teaspoon garlic powder
- 1 teaspoon Italian seasoning
- ¼ teaspoon black pepper
Method
- Preheat the oven to 400F (200C). Set aside a rimmed baking sheet (no need to prep the baking sheet as the tenders have oil so they should not stick)
- In a medium bowl, combine the tenders with the oil, tamari, and seasonings. Let sit while the oven preheats to absorb the marinade.
- Transfer chicken tenders to the baking sheet in a single layer. Bake in the oven for 15 minutes, or until an instant-read meat thermometer inserted in the chicken reads 165F (74C). If you removed the tendon and the tenders have split, the chicken may be finished cooking before the 15 minutes. Use a meat thermometer for the most accuracy and to avoid under or over cooked chicken.
- Serve with your favorite dipping sauce and side dishes. Store leftover chicken tenders in the refrigerator in an airtight container for up to 4 days.
Notes
- Chicken tenders (or chicken tenderloins) cook quickly, so start checking them at around 15 minutes to avoid overcooking.
- The most accurate way to know they're done is to use a meat thermometer. Remove them from the oven as soon as they reach 165°F in the thickest part.
- If your tenders vary in size, smaller pieces may finish cooking sooner. You can remove those early and let the larger ones continue baking.
- The combination of oil and soy sauce acts like a quick marinade, helping keep the chicken juicy while adding flavor.
- If you removed the tendon and the chicken split, it may cook faster than expected. Check it a few minutes early.
- You can swap the seasoning to fit how you're serving the chicken. This method works with almost any spice blend.
- Store leftovers in an airtight container in the refrigerator for up to 4 days. Reheat gently so they don't dry out.

Sherry says
I really wanted to love tenders made this way! They cooked perfectly and smelled amazing. They were simple to prepare. I used exact measurements of exact items, except that I used low sodium soy sauce. These tenders were still so salty that they were inedible. I rinsed them in clear water; still too salty. I then soaked them in lemon juice and water to cut the saltiness and this did help, but I would never again use one tablespoon of soy sauce for one pound of chicken tenders, especially if marinating for a couple of hours before baking!
Jennifer Banz says
Most recipes use 1/3 cup to 1/2 cup of regular soy sauce to marinate 1 pound of chicken. 1 tablespoon is very minimal.
Brina says
This is the best chicken! It was so flavorful and easy.
patty price says
Can you marinate and leave in refrigerator fir a few hours
Jennifer Banz says
Yep!
Katherine Rose says
I had been looking for an easy tenders recipe for a while and I struck gold with this one! This recipe is absolutely amazing, the best ever! I didn’t have any avocado oil so I used extra virgin oil and it was absolutely delicious. I let the tenders sit in the mixed oil and spices for a few minutes, then baked them. Just followed the recipe which was very simple, easy and straight- forward. They were juicy and flavourful. Thank you, thank you, this is on my favourite yummy list.
Theresa Simpson says
Theresa Simpson. I tried this recipe last night and it was absolutely beyond amazing. Even with a short marinade time the tenders came out juicy and tender (of course, because they're tenders). They had the most amazing flavor and the stock left in the pan went beautifully over rice. Does anybody know if you can use chicken legs and accomplish the same perfection?
Jennifer Banz says
I am so glad you liked the tenders! I would recommend this recipe for chicken legs: https://jenniferbanz.com/crispy-baked-chicken-legs
JoannieO says
I baked my c-tenderloins at 400 degreed oven, alongside of leftover oven roasted veggies. Came out perfectly after 20 minutes!! Used balsamic glaze you can easily find in the market, best healthy eating to you
Jane B Ranaldo says
I too needed a quick recipe for 3.5lbs chix tenders. Had to sub avocado/evoo for avocado. Balsamic vinegar for Tamari. I didn't have thyme so used pinch of ginger and 2 pinches of siagon cinnamon. Also chilled maple syrup for sweetness and to hold the sauce together. Rosemary and Italian spices a wee bit. Yum! Moist and ready to freeze for adding to salads, etc. Thank you!
Tiff B says
I'm not feeling good & needed an easy way to cook the chicken tenders I had in the fridge. This was easy, simple & turned out juicy & delicious! I will send this recipe to my sons to make at their homes because it's so easy & good!
Jo Ann says
Thank you! I agree so much with the others who appreciated a tenders recipe without breadcrumbs that came out tasty and tender!
Sue says
So delicious!
Ronald warren says
So good. And thanks so much for showing how to get tendon out.
Mary Hussman says
My husband doesn't eat much anymore so saw your recipe and have tried it twice now. He cleaned his plate both times. These are so easy and very tasty. Thank you for sharing.
Robby says
As others have said, these tenders were out of this world moist and flavorful. I didn't have tamari on hand, so I just used low-sodium soy sauce. Thank you for such a wonderful recipe. This one is a keeper, for sure!!
David Blink says
Perfect! The cook temp and time were spot on, and the tenders were juicy and delicious. I don't th9nk I'll be costing and deep frying tenders ever again.
Beth says
Jennifer, these are so good! Juicy and flavorful! I have never cooked tenders before, so your tip to remove the tendon was easy to follow. I have already made them twice this week, and the second time I subbed thyme marjoram and paprika for the Italian seasoning and onion powder for half the garlic for a slightly different flavor profile. Succulent both ways. My tenders were 7 per pound, so they came out 200 calories per serving, and very reasonable sodium. Thanks for the recipe!
Recipe Fan says
Thanks for sharing your substitutions, that sounds delicious.
Dutch girl in Arizona says
Very good. I put the tenders on a rack. Great flavor and so easy. No more breading for me. Asewome!!
MJ says
This chicken tender recipe has become a favorite of ours!!
I make it pretty often.
It's easy, and so delicious!!!
Natalya says
So delicious! Just a side note: mine were fully cooked after 25 minutes, not 15 as the recipe states. Just putting it out there for others who have a weak oven like me. Thanks for the recipe!!
Mel says
Mine took longer to bake, too
25 minutes. However I am a bit over 5000' in altitude, so that may be the issue for me. I do have an oven thermometer, bty.
Sally S says
These tenders were delicious, moist and super tender! I let mine marinate for about 30 minutes before baking. I will definitely make these again. Yum!!!
Pam R. says
Recently had to give up breading and fried items for digestive issues.
Have experimented with baked tenders but always overdone, chewy or not very tasty.
Was about to give up and tried your recipe and it was outstanding!
Think I could have them every day.
Love the tamari! Who needs all that extra salt? Five stars!
Sandee says
Great recipe! The tenders stayed moist and juicy!
Will definitely a make again!
Andrew C says
Delicious! I was skeptical because of how simple the quick marinade was, but was it perfect.
10/10 for teaching us a life hack I will never forget - using the fork to remove the weird white bit. That’s a total game changer!
Jessica F says
This is a perfect recipe, thank you! It's so fast and easy, and the tenders came out juicy and delicious. I'm so glad you shared your method.
Sue PG says
Omg these are perfect. Thank you!
Stephanie G says
This was so easy and so yummy! I’ll definitely make it again!
MICHELLE MCDONALD says
So easy, fast, and good. My tenders were done after about 12 minutes. Will make this again for sure! I didn't have tamari so used low sodium soy sauce instead.
Terra Davis says
In your description of the Baked Chicken Tenders, you said they were gluten free and the description of the Tamari on Amazon says it has wheat in it. Just a heads up. Thanks for the recipe!
Michelle C says
Most Tamari are gluten free.
Juli says
The winner at 8:30 pm on a Thursday night.
Julie says
Meant to give 5 stars too!
Julie says
I needed a "chicken for dummies" kind of recipe as I pretty much suck when it comes to preparing anything (with exception to mixed salad greens and raw veggies thrown in a bowl). This has saved me! I have prepared chicken tenders 3x this month adding them to my salads, shredding them up for pitas, chicken salad sandwiches, and even munching on them for a snack.
Thank you for an easy but tasty recipe!
Bun says
Not ready in 15 minutes lol
Jennifer Banz says
The size of chicken pieces varies greatly that is why I stress to use a meat thermometer in the instructions.
patty tuthill says
made this chicken tender recipe the other day and they really came out nice and juicy
Chris says
Thanks Jennifer for another easy and delicious recipe. I did not have Tamari so used low sodium soy sauce.
Maria says
So easy, so delicious! No lie….will become a family favorite. Thanks!
Cindy says
These chicken tenders were so easy to make and really flavorful!