
You will not believe how easy it is to make your own Instant Pot Yogurt! This Instant Pot yogurt is super creamy and thick....you will want to eat it plain!

This Instant Pot Yogurt recipe is super easy and so much better than any yogurt you can find in the stores. I have step by step instructions on how to make yogurt in the Instant Pot!
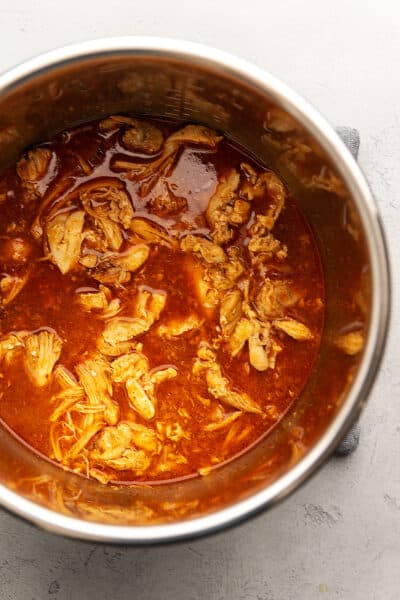
I absolutely love my Instant Pot Pressure cooker. I have several recipes on this site including Instant Pot Chicken Breast, Instant Pot Whole Chicken, and Pressure cooker Pot Roast!
HOW TO MAKE YOGURT IN THE INSTANT POT
- Heat milk to at least 180F to sterilize
- Cool the milk to under 111F
- Add the starter
- Let yogurt ferment
- strain, if desired
Step 1: Pour your milk into your clean Instant Pot and cover with a lid. You can use the lid that came with the pot and set it to "venting", or you can see if any of the lids you have laying around will work. My lid I'm using in this photo came from my stainless steel pots. You are not bringing anything up to pressure when you make yogurt so if you use the Instant Pot lid, make sure it is set to "venting."
I used a half gallon of whole milk, but you can use any milk you like. I have also done this with a full gallon of milk. If you decide to use Organic milk, you need to find one that is not ultra-pasteurized. From my research, ultra-pasturized milk will not ferment.
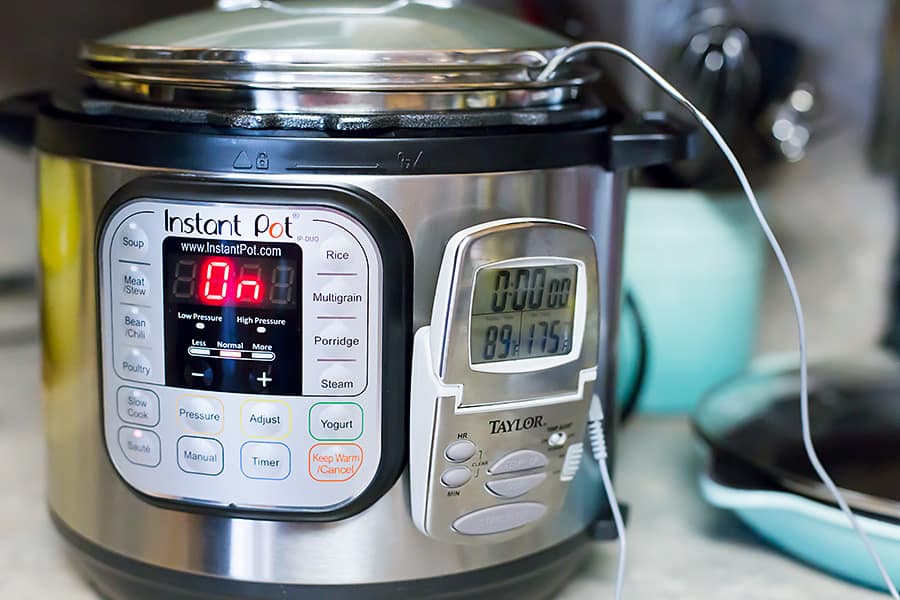
To heat the milk, you can press the yogurt button until it reads "boil" or you can use the "sauté" function on "less." I prefer to use the sauté function because it is much quicker. While the milk is heating, I stir it a few times (be sure not to scrape the bottom of the pot) to get the temperature even.
"As an Amazon Associate I earn from qualifying purchases."
The milk is ready when it reaches 180F. Stir it one last time and test the temperature again just to make sure it is ready.
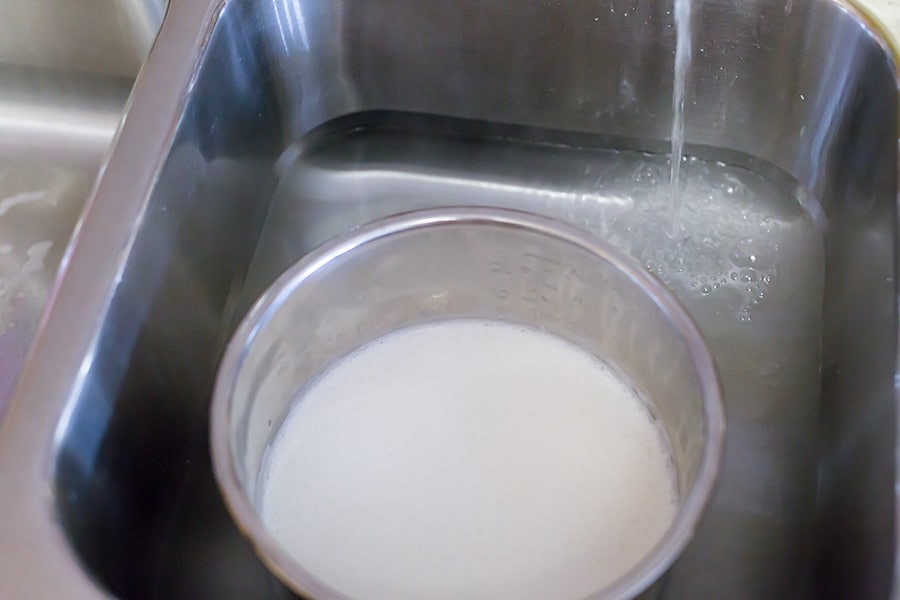
Step 2: Now we need to cool the milk down. I put about 4 inches of cold water in my sink and put the inner pot in the cold water with the lid removed. I stir (don't scrape the bottom) and check the temperature until the milk is under 111F.
Step 3: Once the milk is cooled, it is time to add the starter. Starter is any yogurt that contains live active cultures. I would find a yogurt that only has milk and live active cultures as the ingredients. It can also read "cultured grade A milk."
Add the starter and whisk to combine.

Step 4: Make sure the outside of the inner pot is dry, then put it back into the Instant Pot and cover with the lid. Press the "yogurt" function and the "adjust." It will give options of 8:00 or 10:00. I actually press the minus button to bring mine down to 7:30 so my yogurt is less tangy. If you want your Instant Pot yogurt to have more tang, you can ferment for 8 or 10 hours.
Now we just let the Instant Pot Yogurt sit for the fermentation time!
When the time is up, I pull the pot out with the lid and put it in the refrigerator for a few hours. This helps the yogurt thicken a little more.
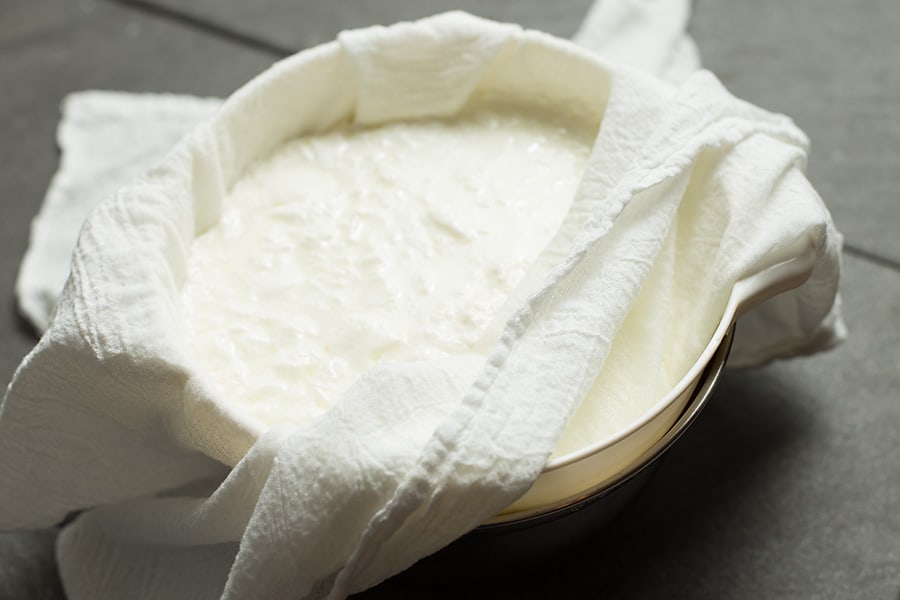
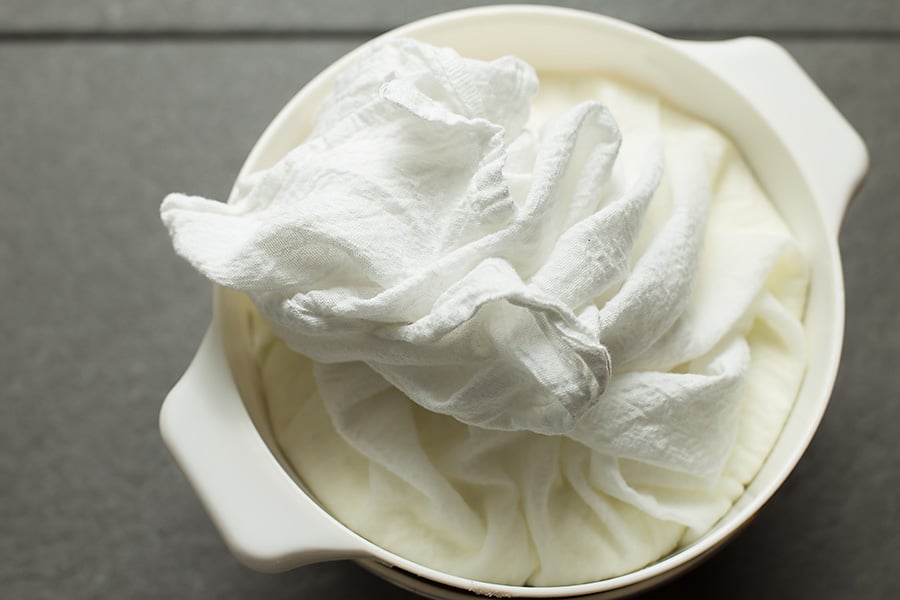
Step 5: When the Instant pot yogurt is finished, mine looks like this. I then strain mine over night to get it super thick. I place a colander into a larger bowl, then I put a thin towel in the colander, then the yogurt goes in to strain. I cover the top with the excess towel and put it in the refrigerator over night.
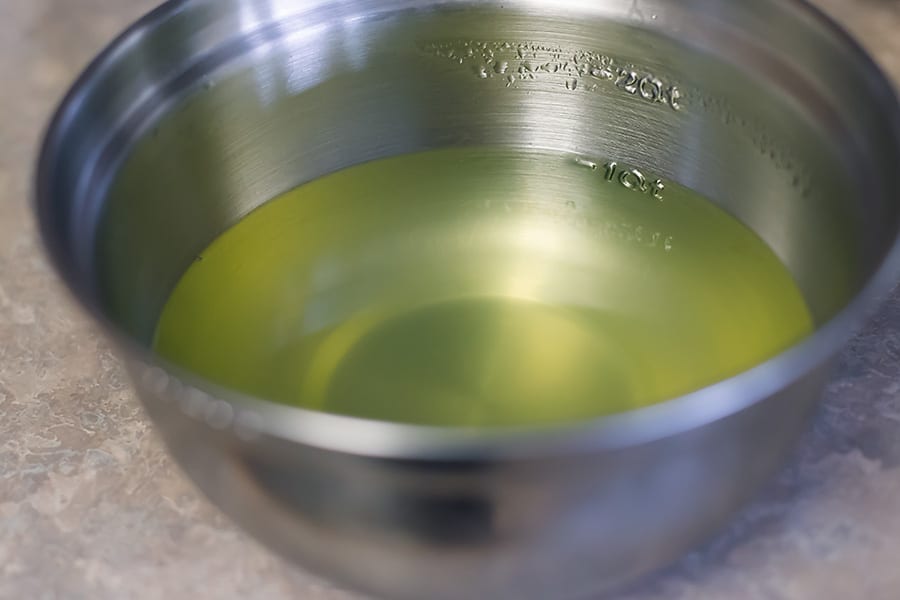
This is the leftover Whey from straining the Instant pot yogurt. You can save this to use in other recipes!
And the finished Instant Pot yogurt! You can leave it plain and top with your favorite yogurt toppings, or you can sweeten it however you like. If you strain it overnight but you think it is too thick, you can add back some of the whey to make it thinner.
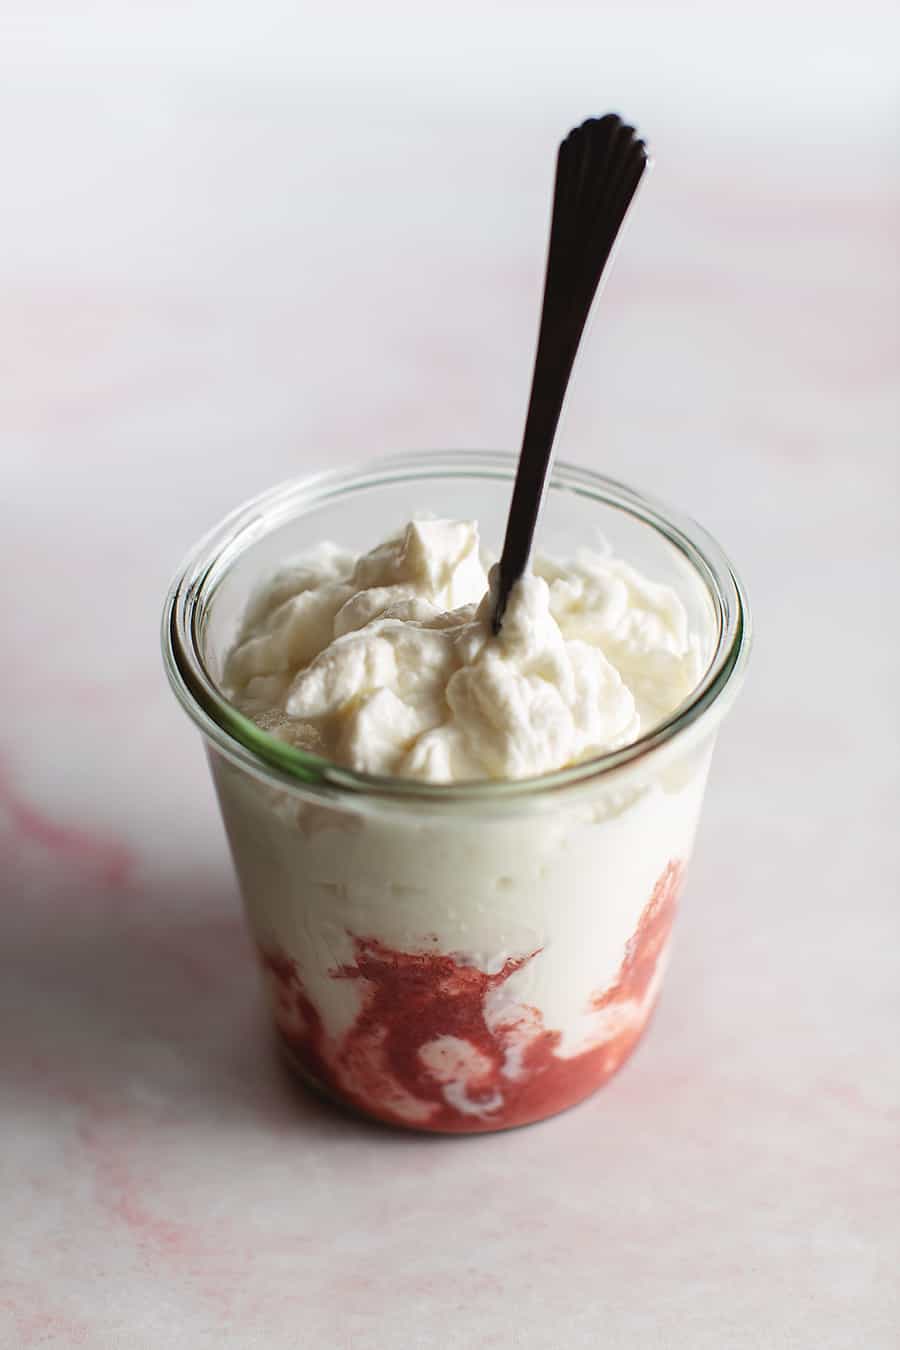
This makes an amazing breakfast treat, as well as my protein pudding, Protein Pancakes, and Protein Waffles!
Recipe Card

Instant Pot Yogurt - Step by Step Tutorial
Ingredients
- Instant Pot Pressure Cooker with yogurt function
- Kitchen Thermometer
- ½ gallon Whole milk
- 2 Tablespoons plain yogurt with active cultures
Method
- Using your Instant Pot, pour the milk in the inner pot and cover with a lid. Using the "sauté less" function, heat the milk until it reaches 180F. Stir it a few times to get the temperature even, being sure not to scrape the bottom.
- Add 4 inches of cold water to the sink. When the milk reaches 180F, pull the inner pot from the instant pot, remove the lid, and put it in the sink with the cold water.
- Cool the milk until it reaches 111F. Stir it a few times to get the temperature even, being sure not to scrape the bottom.
- Remove the pot from the water and dry the outside thoroughly. Add the yogurt starter and whisk to combine.
- Put the inner pot back in the instant pot and cover with the lid. Press the "yogurt" function and then "adjust" until the screen reads 8:00. You can ferment longer for a more tangy yogurt.
- When the fermentation process is finished, remove the pot and put it in the refrigerator for a few hours to stop the fermentation process.
- For a thicker yogurt, place a colander in a bigger bowl, followed by a thin kitchen towel. Pour the yogurt in the colander to strain up to overnight.
- Serve plain or with your favorite yogurt toppings.
Did you make this recipe?
Leave a comment or rating below!⭐ Did you make this Instant Pot Yogurt Recipe? Tag me on Instagram so I can see! @lowcarbwithjennifer


George Abbott says
I use my instant pot for yogurt regularly. But to make it very low in carbs I do the 24 hour setting. It makes what health experts call SCD yogurt! At that time almost all of the Lactose is gone!
Taylor says
I am also wondering what the carb count would be? Is it the same as your whole milk?
Shaon says
How long does this keep?
jenniferbanz says
I would say a week or 2
Patricia says
Hi there, would you know the nutritional breakdown for your yogurt? I do strict keep and an wondering what the carbs are.
Thank you... This looks fantastic
Karen says
What type of recipes would you use the whey in?